| Top rated - Official Art |
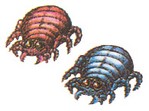
deelers.jpg1298 viewsDeelers.
(3 votes)
|
|

bot.jpg1235 viewsBot, the blue blob.
(1 votes)
|
|
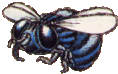
boon.gif1198 viewsBoon.
(1 votes)
|
|
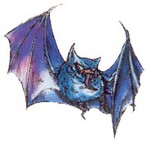
ache2.jpg1327 viewsAche.
(1 votes)
|
|
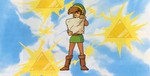
scroll3.jpg2110 viewsBetter version of the above image.
(9 votes)
|
|
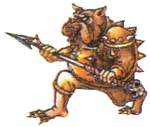
molblin2.gif1286 viewsMolblin.
(5 votes)
|
|
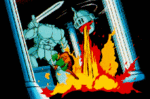
helmethead.gif1900 viewsThe guardian of the second palace, known as "Helmethead" or officially as "Jermafenser."
(3 votes)
|
|
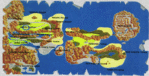
z2map3.gif2045 viewsLarger version of the above image.
(3 votes)
|
|
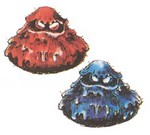
bitbot.jpg1319 viewsBit and Bot.
(3 votes)
|
|
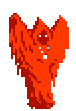
carock.gif1227 viewsCarock.
(3 votes)
|
|
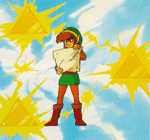
scroll2.gif2118 viewsLink reading a scroll
(5 votes)
|
|

shadow.gif1334 viewsShadow Link.
(6 votes)
|
|
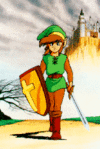
linkdepart.gif3184 viewsLink departing on his quest.
(6 votes)
|
|

barba.gif1290 viewsBarba.
(6 votes)
|
|
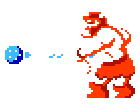
gooma.gif1240 viewsGooma.
(7 votes)
|
|
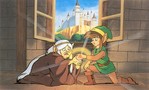
impalink2.jpg2178 viewsBetter version of the above image.
(3 votes)
|
|
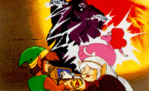
impalegend.gif1710 viewsImpa recounting the "legend of Zelda" to Link.
(3 votes)
|
|
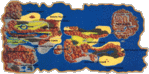
z2map2.gif1849 viewsMap of Hyrule (from Nintendo's "NES Game Atlas").
(3 votes)
|
|
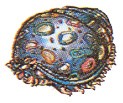
lowder2.jpg1281 viewsLowder.
(3 votes)
|
|
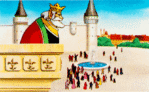
king.gif1623 viewsThe king who used the Triforce to keep the peace.
(2 votes)
|
|

z2logo.gif1298 viewsThe logo, from the manual (transparent background).
(2 votes)
|
|

z2logo.jpg1397 viewsThe logo, from the manual (white background).
(2 votes)
|
|
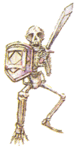
stalfos.gif1285 viewsStalfos.
(2 votes)
|
|
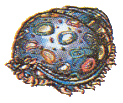
lowder2.gif1186 viewsLowder.
(2 votes)
|
|
|
|
 Register