Table of Contents
Main Page (ALttP)
- Prologue: Zelda's S.O.S.
- 1. Searching for the Elder
- 2. Pendant of Courage - Eastern Palace
- 3. From Boots to Books to Prayers
- 4. Pendant of Power - Desert Palace
- 5. Scale Death mountain
- 6. Pendant of Wisdom - Tower of Hera
- 7. The Master Sword and the battle against Agahnim
- 8. Crystal #1 - Palace of Darkness
- 9. The Bird, the flute, it's owner and his old man
- 10. Crystal #2 - Watergate Dungeon
- 11. Crystal #3 - Skull Woods
- 12. Crystal #4 - Thieves' Town
- 13. The Tempered Sword and other items
- 14. Crystal #5 - Ice Palace
- 15. Crystal #6 - Misery Mire
- 16. The Final Sword upgrade and loose ends
- 17. Crystal #7 - Turtle Rock
- 18. Tower of Ganon
- Final. The Last Battle
- Appendix A: Check List & Compendium
Sections
- The locked off entrance
- Compass
- Map & Big Key
- Big Treasure: Blue Mail
- The riddling puzzle
- Boss: Kholdstare
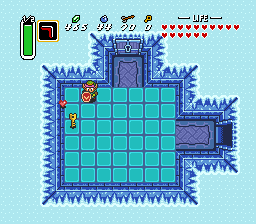
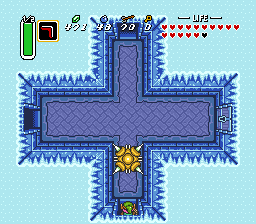
The locked off entrance
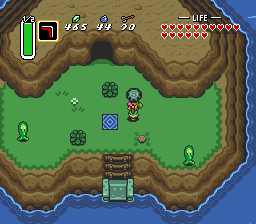
The last four dungeons of the game are pretty large and hefty so make sure you have some blue potions in your inventory as you might be needing them here. To find the entrance of the Ice palace you need to go to south east Hyrule. Lake Hylia is your destination. In Dark Hyrule the location marked by the Crystal on the maps seems to be uncreachable. You can see the entrance, but you can't get in just like that. Go to the light world and swim to the central island. Lift the dark green rock to find a hidden teleporter.
>
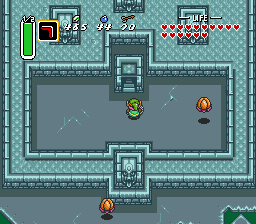
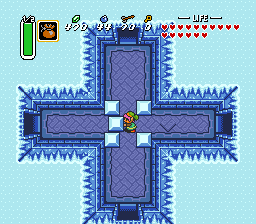
Use it and enter the palace by going down the stairs right away.
| ||||
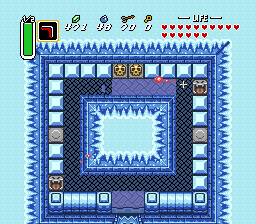
Compass
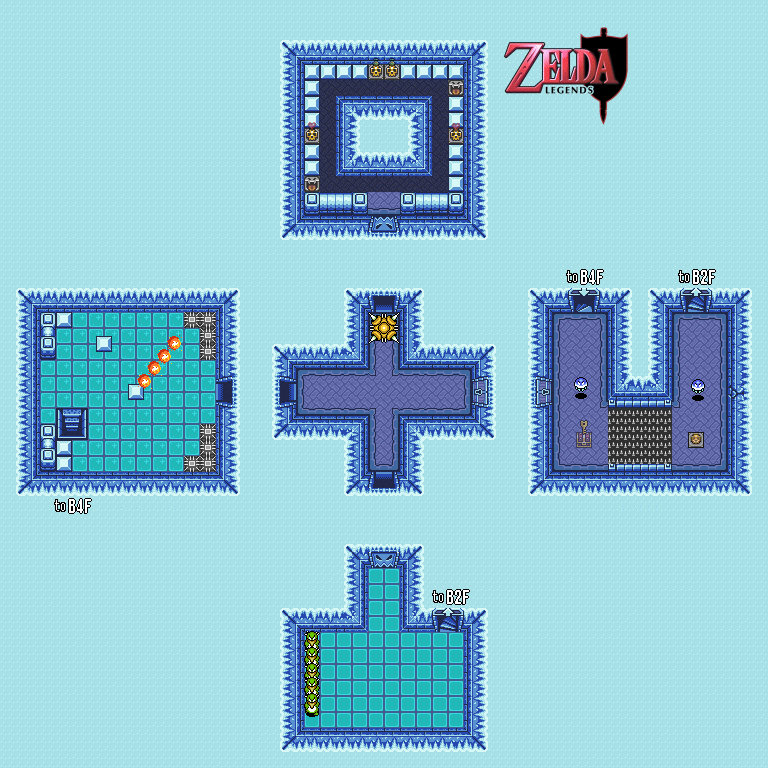
1F
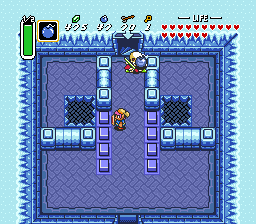
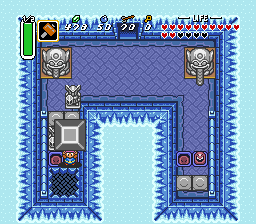
The dungeons are getting bigger like I said just before and so I've split the sections up is smaller pieces. The first goal is to get the Compass. You need to equip the Fire Rod here as the left ice creature is alive and fire is the only way to hurt it. The telepathic tile confirms this and also tells you that you need your magic power so use it carefully.
Once the Freezor is destroyed the door to the west opens. Enter and take out all three blue Baries to claim the key. Use it on the lock to find a staircase to the next floor. And another thing this dungeon introduces is slippery tiles so watch out where you're going when you enter the black ice areas.
B1F
Hit the button in the lower left corner to unlock the door, and get rid of the two green Zols which pop up from under your shadow.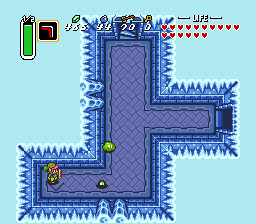
You can only push the central block to the right here, so the only way to go from here is south. Enter the room of thte compass filled with 6 Pengators. These are very strange and annoying creatures so take them all out with "Bombos" to get the Compass (they drop magic decanters often so magic is of no concern).
The map already shows that this dungeon is seven layers deep so, it's going to be a long journey to the bottom.
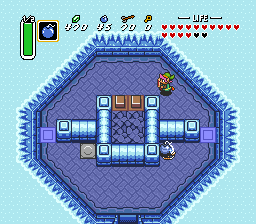
Map & Big Key
Head up again, and push the central block to the top in order to reach the button switch. We need to be going to the northern route, so only enter the right room to unlock the door again. Bombos is once more the easy way out, and turn the Anti-Faerie into a real faerie using the magic pouch. Take note that the upper jar conceals a spark so don't lift it, unless you removed it with Bombos.
The lower jar has the button you need to unlock the doors. Don't check out the eastern room as it is a dead end from this side. So, go back press the button switch again, push the central block left and head through the northern passage.
In the back room take out all read 4 Baries and 8 Biries, then hit the switch so the blue pegs go down, lay a bomb next the switch walk up and wait until it triggers. Then bomb the weakened floor section in the center to reach B2F.
B2F
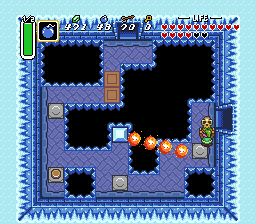
Read the tile if you like and meet up with the Stalfos Knight. These guys are resistent to swords and can only be defeated temporarily. To take them out for good you need another weapon as the plaque read. Use a bomb on the knight after it collapses to take it out of commision once and for all.
The next room has a moving floor with many spikes, 4 blue Baries and some black "Zoro" creatures. Kill the second Bari for the key and make sure the switch is red before leaving the room. In the next room carefully maneuver around the rotating flame and hit the button switch in the SW corner to unlock the door.
Take out the three Zols in the next corridor, collect the Magic jar if necessary and walk down the stairs for B3F.
B3F
Still no map here... Anyway, another room with 5 Pengators. With the Tempered Sword a spin attack will suffice to kill each individual penguin in a single hit. Afterwards walk up to the following chamber.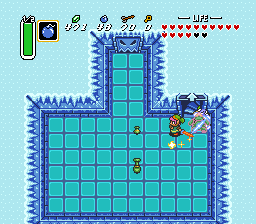
This room has a large version of the Trap we saw before. Wait until it attacks and follow it back when it retracts itself slowly. Wait on either left or right corridor, until it comes down. Then go up the northern room.
The floor in this room disappears after a few seconds, but that is okay. You need to go down there anyway. If you're quick Link may be able to collect some of the recovery hearts.
B4F
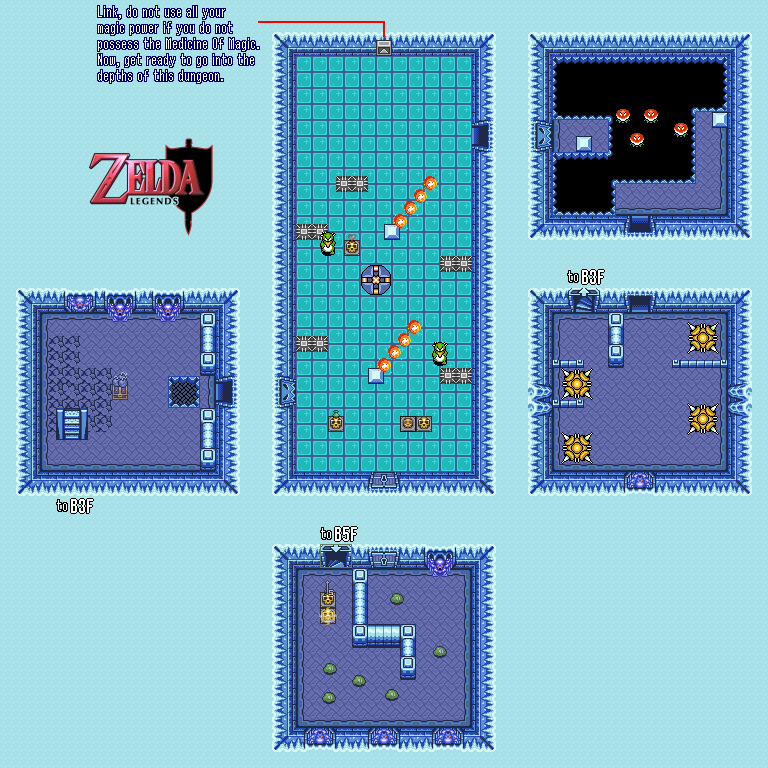
You can read the tile for some trivial info, then leave via the eastern passage. There is no need to explore this floor just yet. In the room to the right there are four red Baries. Take them out anyway you like and use the Hookshot to reach the left side of the room.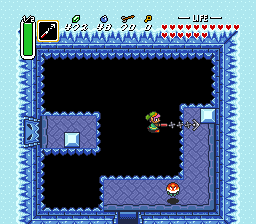
Go down, avoid the large Traps and ascend the stairs to B3F. Only few steps away from the Map and the Big Key.
B3F
Take out the Baries here and use the Hookshot to get over the gap right away. There's a button switch under the pot, but we won't need it now. You may trigger it, but you do not yet need to get the key. We're coming back via the same route so pick it up afterwards. Ascend to B2F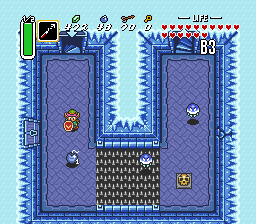
B2F
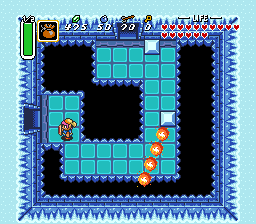
Take out the Stalfos Knight, pound the mole head, lift the block, avoid the spark, collect the key, pound another mole head, kill the Stalfos Knight #2, lift all pots to find a switch which reveals a chest, and pull the tongue to open the entrance in this room.Oh yeah, the chest contains the Map, finally! Afterwards go right from here and ascend some more stairs.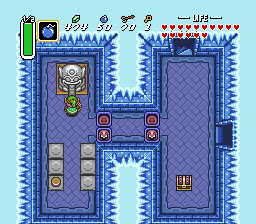
Big Treasure: Blue Mail
B1F
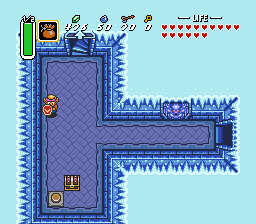
Lift the pot to find a chest containing... The big Key! That went pretty smooth. Now retrace all your steps back to B3F where you uncovered that secret chest. I do need to mention that on B2F you need to pull the tongue of the statue next to the stairs in order to unlock the door.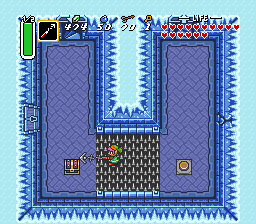
B3F
After uncovering it (again), use the Hookshot on it and open it for the Small Key which I spoiled earlier on. Use it on the left door to find yourself back in the room with large trap. Fake it and walk past it when it just passes by you.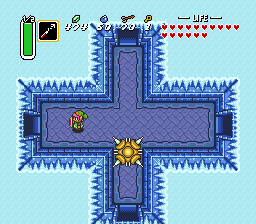
Follow the left path, watch out for the blazing fire arm and descend the stairs to B4F.
B4F
This will only be short here. Kill both Freezors with the Fire Rod to find a hidden chest with some bombs. The bomb the section above the stairs to find a new gap. Of course you need to fall down this hole so do it right away.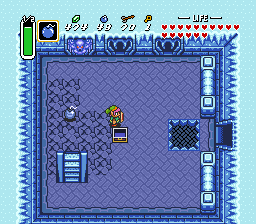
B5F
It's the big chest. Inside there's a blue mail. From now on all the damage you receive will be cut to half. That should make your life much easier. Push the blocks away to find the exit of this chamber.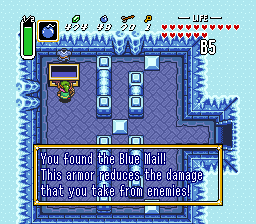
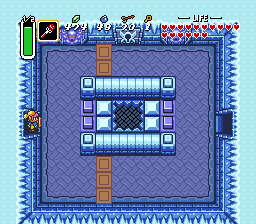
The riddling puzzle
The following section if probably the most perplexing part of the entire game. This puzzle is somewhat hard if you don't know what to do. Here's the walkthrough step-by-step. note: the GBA version has a different, but much simpler puzzle; I might get to covering that later on.
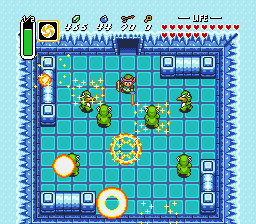
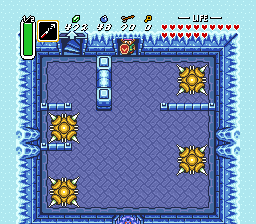
This room with the two Freezors is the most important one. The only way to reach the boss of this basement is by reaching this room, while having the peg switch turned to blue. As you can see the center pegs will be down then and you can fall down. First take out the Freezor to the left with the Fire Rod.
Next, one must collect at least one small key before going through the upper entrance, so equip the Magic Pouch and go right. An Anti-Faerie will come right at you so use the Pouch to neutralize him.
Next lift the three pots right above you to find a small key and take out the upper right lonely skull to find a button which unlocks both doors, but the bottom entrance is for later.
Back in the central room go up through the door with the big lock, take out all the red Baries and the Stalfos Knight, descend the stairs go down one room and kill the all the enemies in this room.
B6F
Notice that the central button under the skull opens a door, but it doesn't remain pressed and neither is there any statue to be placed on it... Go right using the Small key and hit the switch to lower all blue pegs.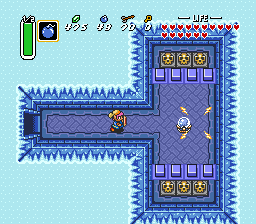
B5F
Collect the items and return back to the room with the gap and the buttons. You can push the upper right block down, but it won't do you any good. Instead go right, and now take the lower branch.
|

Carefully, maneuver over the tight icy edge towards the left entrance. Collect another small key and head up to B4F.
B4F
Don't lift the lower of the two pots here as it contains a spark, then take out all the green Zols and the Freezor in the upper right corner on the path to the locked door. Unlock it, to find yourself back in the big Pengator room. Lift the 'center' pot to find another secret switch which opens the left door.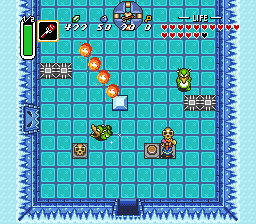
Go through and fall down the gap to find yourself next to the big chest. Head right again, and now you are on the right side of the raised orange pegs. Push the lower left block down and follow it.

B6F
Push the left block downwards and enter the last chamber before the boss.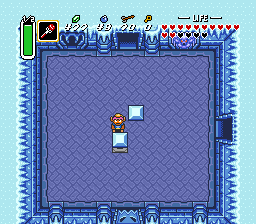
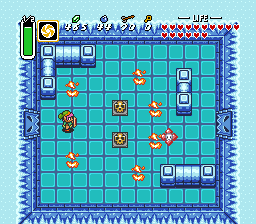
Take out the Baries here, pound the mole heads to finds some Arrows and Magic. Then move the right statue at the left branch up, pound the other moles and lift the large grey block to find the hole to B7F; the Boss' lair.
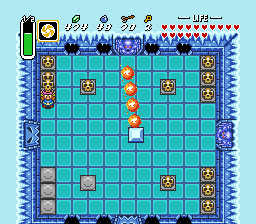
Boss: Kholdstare
B7F
Not a very hard boss, but Magic is important take the Fire Rod out and use it against this icy fiend. Chunks of ice fall down continuously so, be on your guard at all time. Stand in front of Kholdstare and start blasting with the Fire Rod until his ice barrier is shattered. 8 hits should break it up.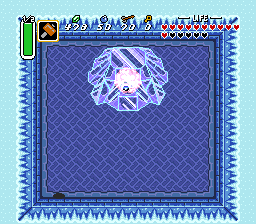
Next phase Kholdstare seperates in three and you need to take them all out by hitting them with the sword (Tempered is 8 hits) or the Fire Rod (4 hits) to destroy each individual cloud.
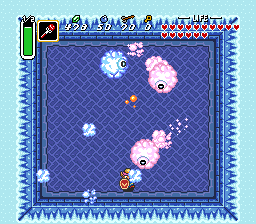
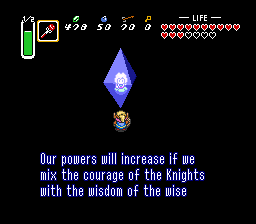
Kholdstare's main attack is barging in at you frontally. Other than that it doesn't really do that much... Upon beating all three copies the Heart Container and Crystal fall down. Collect both to exit this dungeon. Again, the Maiden tells some more details about the background story.
There are no new side quests available for getting the Blue Mail so you might as well go on to dungeon #6 The Misery Mire.
 Subscribe to RSS