Zelda 1 Stuff |
 |
| TITLE |
+ |
- |
| FILE NAME |
+ |
- |
| DATE |
+ |
- |
| POSITION |
+ |
- |
|
|
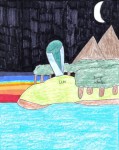
LoZ1--Letter.jpgLoZ1 Letter91 viewsThe letter Link gives to the old woman in Zelda 1 to get the Water of Life.
I used the artwork of the manual as a reference.DBoyWheeler
|
|
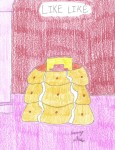
LoZ1--Like_Like.jpgLoZ1 Like Like91 viewsThe shield eating blob, Like Like, from Zelda 1.
I used the manual art as a reference... and since it likes to eat Magic Shields, I drew it enjoying a recent meal.DBoyWheeler
|
|
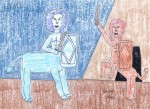
LoZ1--Lynels.jpgLoZ1 Lynels88 viewsThe two colors of Lynels in Zelda 1. I used the manual art as reference, and drew two Lynels since there were two colors of them.DBoyWheeler
|
|
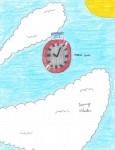
LoZ1--Magical_Clock.jpgLoZ1 Magical Clock90 viewsThe magical stopwatch of Zelda 1.
I used the artwork from the manual as a reference.DBoyWheeler
|
|
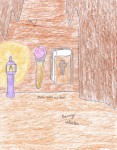
LoZ1--Magic_Wand_and_Book.jpgLoZ1 Magic Wand and Magic Book88 viewsThe wand of Wizzrobe and the Magic Book from Zelda 1.
I used the manual art as reference.DBoyWheeler
|
|
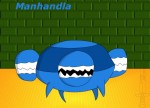
LoZ1--Manhandla.jpgLoZ1 Manhandla128 viewsThat pain in the tail Piranha Plant wannabe, Manhandla. I mean it--even the Magic Shield is no match for this weed. Your only hope is to use a bomb to kill it in one hit! Anyway, here's Manhandla.
My main reference was the official art in the manual.DBoyWheeler
|
|
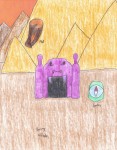
LoZ1--Map_and_Compass.jpgLoZ1 Map and Compass88 viewsThe map and compass that Link uses to guide his way in the Labyrinths (in Zelda 1).
I used the manual's official artwork as a reference.DBoyWheeler
|
|

LoZ1--Moblins.jpgLoZ1 Moblins108 viewsThe bulldogs of doom, the Moblins, from Zelda 1.
Used the sprites as reference this time (as opposed to the manual art--he looked a bit robotic in the artwork), and drew two since there were two colors.DBoyWheeler
|
|
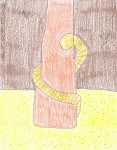
LoZ1--Moldorm.jpgLoZ1 Moldorm93 viewsThe giant earthworm from Zelda 1.
I tried to draw it as it appeared in the manual art of Zelda 1 (as opposed to how hit appeared in game), and had it climb a cave column.DBoyWheeler
|
|
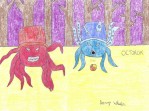
LoZ1--Octoroks.jpgLoZ1 Octoroks89 viewsThe two kinds of Octoroks from Zelda 1.
I used the manual art as reference, and drew two since the game had two colors for Octorok.DBoyWheeler
|
|
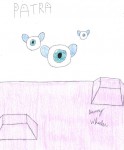
LoZ1--Patra.jpgLoZ1 Patra93 viewsThe flying eyeballs of doom from Zelda 1.
My reference was the manual art. And this was long before I learned how to do digital art, so it's not much to look at.DBoyWheeler
|
|
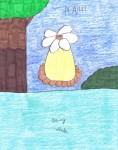
LoZ1--Peahat.jpgLoZ1 Peahat89 viewsThe Peahat from Zelda 1.
I tried to draw it as it looked in the manual art.DBoyWheeler
|
|
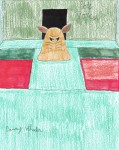
LoZ1--Pols_Voice.jpgLoZ1 Pols Voice102 viewsThe big eared ghost from Zelda 1.
I used the manual art as a reference. When I first drew this long ago, I wondered about the weakness... then found out we Westerners missed out on it since in Japan, the Famicom Disk System had a mike so you could shout at the Pols Voice and destroy them that way.DBoyWheeler
|
|
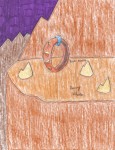
LoZ1--Power_Bracelet.jpgLoZ1 Power Bracelet90 viewsThe strength-enhancing Power Bracelet from Zelda 1.
The artwork from the manual was the reference in drawing this.DBoyWheeler
|
|
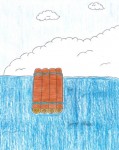
LoZ1--Raft.jpgLoZ1 Raft90 viewsThe raft in Zelda 1.
The artwork from the manual was the reference for this. And I know the sky doesn't look blue--scanner ate up the detail.DBoyWheeler
|
|
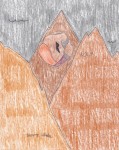
LoZ1--Rock.jpgLoZ1 Rock91 viewsThe darn falling boulders in Zelda 1. I used the manual art as a reference.DBoyWheeler
|
|
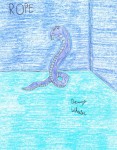
LoZ1--Rope.jpgLoZ1 Rope92 viewsThe poisonous snake Rope (as he appeared in the manual--I used the manual art as reference) in Zelda 1 (I know in the game, he looks like a cobra, but I drew how he appeared in the manual art).DBoyWheeler
|
|
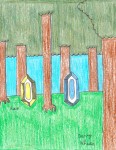
LoZ1--Rubies.jpgLoZ1 Rubies90 viewsBefore we Westerners called them Rupees, we knew them as Rubies in Zelda 1.
I used the manual's art as a reference.DBoyWheeler
|
|
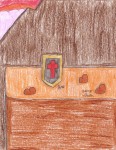
LoZ1--Shield.jpgLoZ1 Shield89 viewsThe shield of Zelda 1. The magical shield is just a larger shield.
Manual official artwork was the reference in drawing this.DBoyWheeler
|
|
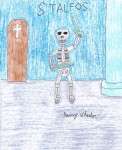
LoZ1--Stalfos.jpgLoZ1 Stalfos97 viewsYeah, it's hard to draw skeletons, and this was my first attempt at drawing skeletons.
Anyway, its a Stalfos from Zelda 1. I tried to use the manual art as reference, but again, this was my first attempt at skeletons, so I kinda messed it up bigtime.DBoyWheeler
|
|
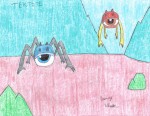
LoZ1--Tektites.jpgLoZ1 Tektites90 viewsThe two colors of Tektites from Zelda 1.
The manual art was used as reference. I also drew two Tektites, since Tektites come in two color variations.DBoyWheeler
|
|
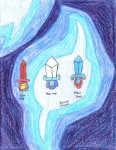
LoZ1--The_Three_Swords.jpgLoZ1 The Three Swords117 viewsThe three swords of Zelda 1, from the starting sword, to the White Sword, to the Magical Sword.
My reference was the manual art, and no I didn't trace.DBoyWheeler
|
|
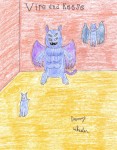
LoZ1--Vire_and_Keese.jpgLoZ1 Vire and Keese95 viewsVire and two Keeses from Zelda 1.
I used the manual art as reference.DBoyWheeler
|
|
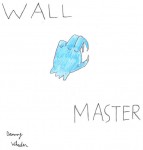
LoZ1--Wall_Master.jpgLoZ1 Wall Master99 viewsThe annoying Wall Master from Zelda 1.
I used the manual artwork as a reference, but left out the warts/bumps/whatever, since I was a wee bit lazy.DBoyWheeler
|
|
|
|