Zelda 1 Stuff |
 |
| TITLE |
+ |
- |
| FILE NAME |
+ |
- |
| DATE |
+ |
- |
| POSITION |
+ |
- |
|
|
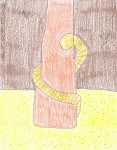
LoZ1--Moldorm.jpgLoZ1 Moldorm94 viewsThe giant earthworm from Zelda 1.
I tried to draw it as it appeared in the manual art of Zelda 1 (as opposed to how hit appeared in game), and had it climb a cave column.DBoyWheeler
|
|

LoZ1--Moblins.jpgLoZ1 Moblins108 viewsThe bulldogs of doom, the Moblins, from Zelda 1.
Used the sprites as reference this time (as opposed to the manual art--he looked a bit robotic in the artwork), and drew two since there were two colors.DBoyWheeler
|
|
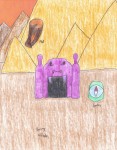
LoZ1--Map_and_Compass.jpgLoZ1 Map and Compass88 viewsThe map and compass that Link uses to guide his way in the Labyrinths (in Zelda 1).
I used the manual's official artwork as a reference.DBoyWheeler
|
|
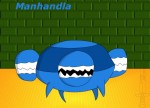
LoZ1--Manhandla.jpgLoZ1 Manhandla128 viewsThat pain in the tail Piranha Plant wannabe, Manhandla. I mean it--even the Magic Shield is no match for this weed. Your only hope is to use a bomb to kill it in one hit! Anyway, here's Manhandla.
My main reference was the official art in the manual.DBoyWheeler
|
|
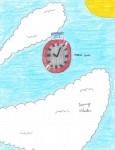
LoZ1--Magical_Clock.jpgLoZ1 Magical Clock90 viewsThe magical stopwatch of Zelda 1.
I used the artwork from the manual as a reference.DBoyWheeler
|
|
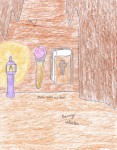
LoZ1--Magic_Wand_and_Book.jpgLoZ1 Magic Wand and Magic Book88 viewsThe wand of Wizzrobe and the Magic Book from Zelda 1.
I used the manual art as reference.DBoyWheeler
|
|
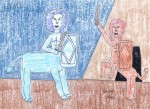
LoZ1--Lynels.jpgLoZ1 Lynels88 viewsThe two colors of Lynels in Zelda 1. I used the manual art as reference, and drew two Lynels since there were two colors of them.DBoyWheeler
|
|
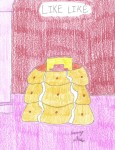
LoZ1--Like_Like.jpgLoZ1 Like Like91 viewsThe shield eating blob, Like Like, from Zelda 1.
I used the manual art as a reference... and since it likes to eat Magic Shields, I drew it enjoying a recent meal.DBoyWheeler
|
|
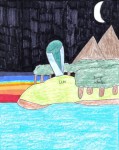
LoZ1--Letter.jpgLoZ1 Letter91 viewsThe letter Link gives to the old woman in Zelda 1 to get the Water of Life.
I used the artwork of the manual as a reference.DBoyWheeler
|
|
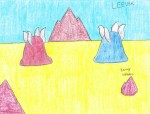
LoZ1--Leevers.jpgLoZ1 Leevers89 viewsThe two kinds of Leevers from Zelda 1.
I used the manual art as a reference, and drew two since there were two colors of Leever.DBoyWheeler
|
|
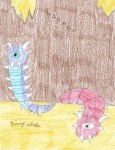
LoZ1--Lanmola.jpgLoZ1 Lanmola101 viewsThe centipede of doom from Zelda 1--in two colors!
I used the manual art as a reference... and drew it twice, since there are two colors of Lanmola.DBoyWheeler
|
|
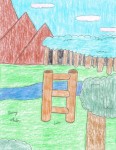
LoZ1--Ladder.jpgLoZ1 Ladder91 viewsThe Ladder from Zelda 1.
The manual artwork was the reference for drawing this.DBoyWheeler
|
|
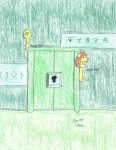
LoZ1--Keys.jpgLoZ1 Keys94 viewsThe regular Key and the Magical Key, from Zelda 1.
Manual's official artwork was the reference for this.DBoyWheeler
|
|

LoZ1--Hearts.jpgLoZ1 Hearts92 viewsThe hearts of Zelda 1. Take a wild guess!
The manual art was my reference when drawing this.DBoyWheeler
|
|
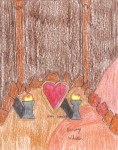
LoZ1--Heart_Container.jpgLoZ1 Heart Container96 viewsThe heart container that increases Link's life in Zelda 1.
Manual official artwork was used as reference.DBoyWheeler
|
|
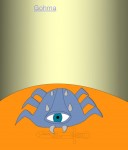
LoZ1--Gohma.jpgLoZ1 Gohma96 viewsThe giant spider crab of DOOM! Get that bow and arrow ready!
I used the official art in the manual as the reference here.DBoyWheeler
|
|
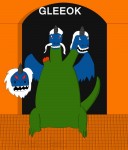
LoZ1--Gleeok.jpgLoZ1 Gleeok143 viewsThe dragon, Gleeok. In this case, it is (or WAS) three headed. And two of the heads (including the severed one flying about) is missing their mustaches--maybe Link gave them a shave when going for the heads.
Anyway, I used the official art as my reference.DBoyWheeler
|
|
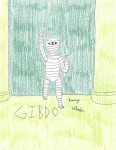
LoZ1--Gibdo.jpgLoZ1 Gibdo104 viewsGibdo the Mummy from Zelda 1.
I used the manual art (instead of the sprite) as reference, since the sprite made him look a wee bit chubby. He looks like he's disco dancing, huh?DBoyWheeler
|
|
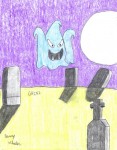
LoZ1--Ghini.jpgLoZ1 Ghini91 viewsThe ghost, Ghini, from Zelda 1.
The manual art was the reference in drawing this.DBoyWheeler
|
|
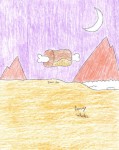
LoZ1--Enemy_Bait.jpgLoZ1 Enemy Bait93 viewsEnemy Bait from the first Zelda game.
The manual art was my reference.DBoyWheeler
|
|
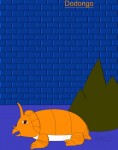
LoZ1--Dodongo.jpgLoZ1 Dodongo106 viewsThe dino rhino, Dodongo. Go and give him the ultimate case of indigestion!
I used both the game sprite AND the official art from the manual as references.DBoyWheeler
|
|
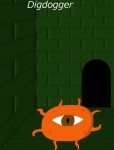
LoZ1--Digdogger.jpgLoZ1 Digdogger103 viewsThe giant urchin, Digdogger. Maybe it's in the middle of shrinking after hearing Link's whistle.
I used a mix of the main art in the manual, and the sprite, as reference here. And I had trouble getting the side wall to look right. Can't win 'em all, I suppose.DBoyWheeler
|
|
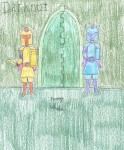
LoZ1--Darknut.jpgLoZ1 Darknut94 viewsThe underworld knights from Zelda 1, in two flavors (er, colors).
I used the manual art as a reference, and drew two Darknuts since there were two colors of them.DBoyWheeler
|
|
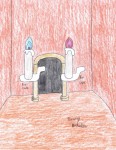
LoZ1--Blue_Candle_and_Red_Candle.jpgLoZ1 Candles95 viewsThe two candles from the first Zelda game.
The official art in the manual was my reference here.DBoyWheeler
|
|
|
|