Table of Contents
Main Page (ALttP)
- Prologue: Zelda's S.O.S.
- 1. Searching for the Elder
- 2. Pendant of Courage - Eastern Palace
- 3. From Boots to Books to Prayers
- 4. Pendant of Power - Desert Palace
- 5. Scale Death mountain
- 6. Pendant of Wisdom - Tower of Hera
- 7. The Master Sword and the battle against Agahnim
- 8. Crystal #1 - Palace of Darkness
- 9. The Bird, the flute, it's owner and his old man
- 10. Crystal #2 - Watergate Dungeon
- 11. Crystal #3 - Skull Woods
- 12. Crystal #4 - Thieves' Town
- 13. The Tempered Sword and other items
- 14. Crystal #5 - Ice Palace
- 15. Crystal #6 - Misery Mire
- 16. The Final Sword upgrade and loose ends
- 17. Crystal #7 - Turtle Rock
- 18. Tower of Ganon
- Final. The Last Battle
- Appendix A: Check List & Compendium
Sections
| ||||
Map, Big Key & Compass
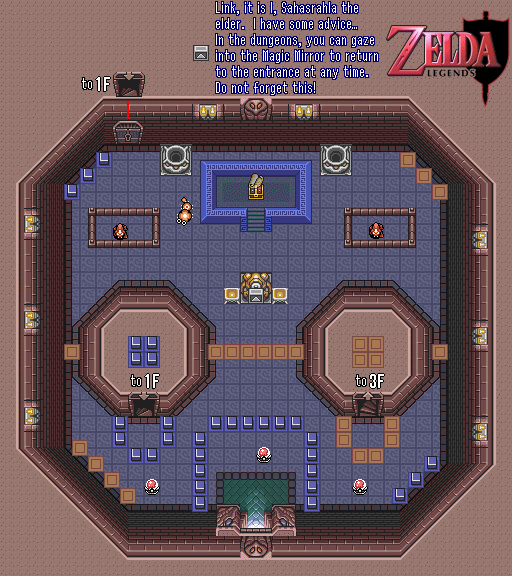
F2
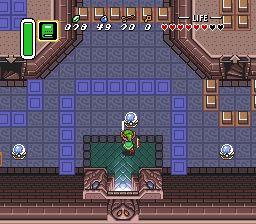
For the quickest route follow these directions. From the start hit the red switch so it becomes blue. This lowers all blue pegs and raises all red pegs. Go down the left staircase. Down on F1 hit the switch and collect the small key, while taking care of both Stalfoses and the Mini-Moldorm. Alternatively, just use the Boomerang to get it instantaneously!
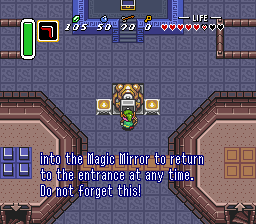
On 2F again, hit the switch again to lower all orange pegs and walk up the chest in the center to collect the Map and examine the telepathic tile to get a hint about use the Magic Mirror to escape a dungeon at any time.
Unlock the door in the upper left corner using the key you got and continue down again to 1F.
1F
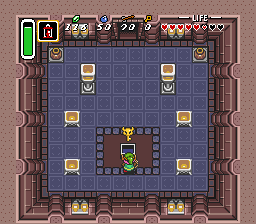
Another loose floor tile room. Again, walk around or slash all 22 tiles to smithereens in order to unlock the door to the right. Afterwards hit the switch to lower the blue pegs. The picture below shows the safest place to take out all tiles without getting hit and without having to move just slash away.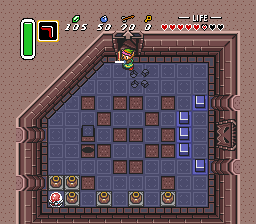
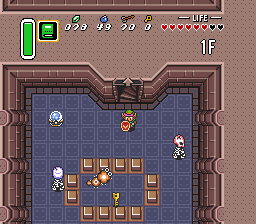
In the room to the east hit all Mini-Moldorms and slash against the switch once again to lower all orange pegs. Downwards Link finds 2 more Red Stalfoses. The easiest way to kill them is with a projectile such as the Boomerang, because they won't defend or even retaliate against it. Ignite all four torches to make a chest with the Big Key appear. Then return back to 2F and ascend the lower right stairs towards 3F.
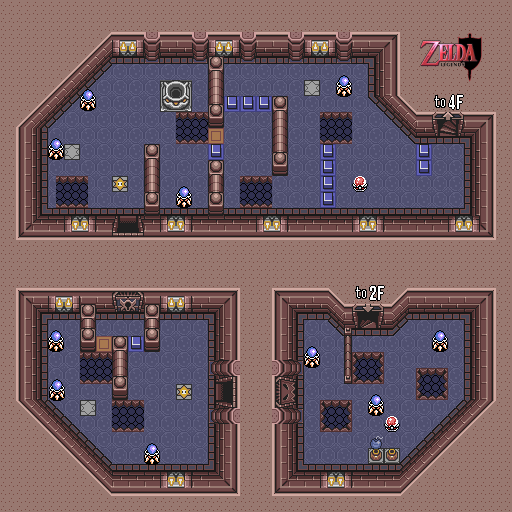
3F
Take out the Hardhat Beetles by hitting them with the sword, but beware that you slide back a few spaces when doing so. Avoid the gaps at all costs or else you have to start over again.In the left room take care of the Hardhat Beetles and stand on the star tile to the right. This causes the gaps to move towards another position. This way you can continue on without turning the orange pegs up.
After this two more Hardhat Beetles attack you right away. Use the spin attack to make quick work of them. Walk further on to the right and stand on either the star tile or hit the Crystal switch to get up to 4F.
Reaching the Big Chest
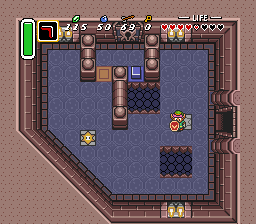
4F
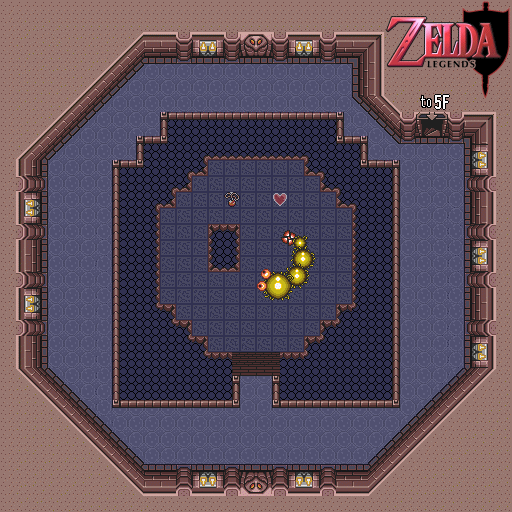
Get the compass right away, and kill all the enemies you can reach. Sahasrahla's hint also tells you that you really need the Moon Pearl. The chest is just up there, but you can't reach it no matter if you activate the star or not. This puzzle baffles many players so I'll try to go a bit more into detail here. First of all we need to go up to 5F.5F
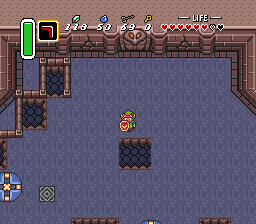
Naturally, take out all the enemies first. The red Hardhat Beetles can only be defeated by pushing them into one of the holes. Next conserve as many hearts as possible, that is leave all the pots which you do not need to heal as they are. You might need them later on against the treacherous boss.Do the following to get the Moon Pearl right here on 5F:
- Activate the Star tile on the left by standing on it (turns grey)
- Stand above the top center gap
- Fall down into this gap from the top
4F
If you did all of this correctly, you'll end up 2 steps away from the big chest. Open it up to claim your prize!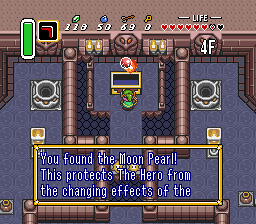
Now that everything is settled head over to 6F to finish this tower and your quest for the pendants by beating it's boss.
Boss: Moldorm
6F
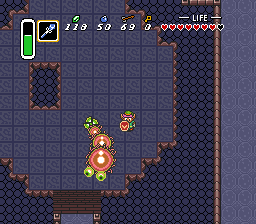
This is one of the trickiest bosses in the game. You need to slide down to the central area and defeat the large worm called: Moldorm by hitting his tail several times with your sword.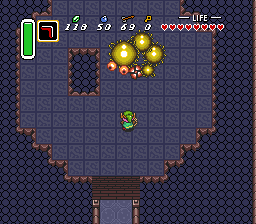
Moldorm will move faster and faster each consecutive hit, but this is not the worst part. If you get hit and fall into one of the gaps you'll fall down into 5F, causing the battle to reset itself. So avoid the gaps at all costs!
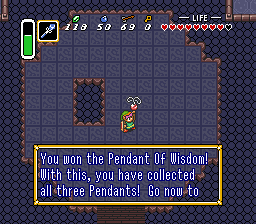
If you hit any part, but the tail segment, you'll slide backwards several times so pick your strikes carefully. Projectiles won't work (at least for me they don't) and you need to score 6 hits before he goes down. Upon his defeat another Heart Container is yours and you'll receive the Pendant of Power. Now the Master Sword within the Lost Woods is Link's final goal.
 Subscribe to RSS
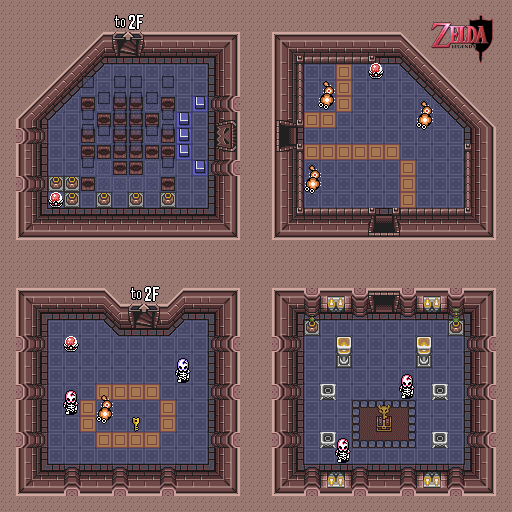